.jpg)
1. Understanding your architecture
The first step in integrating Returner is understanding your architecture. This includes identifying your systems and tools, such as your website, inventory management software (often an ERP), customer service tool (like Gorgias), financial administration, and physical logistics. In this discovery phase, we create a clear picture of your architecture.
2. Mapping out your returns process flow
Once we clearly understand your architecture, the next step is identifying the process flow for handling returns and exchanges. This involves mapping out the entire process, including where each step occurs. Two key considerations are where to manage your inventory and where to process refunds: either in Shopify, in your ERP system, or through another payment method like Mollie. Answering these questions is critical to ensuring a seamless integration with Returner.
.png)
.png)
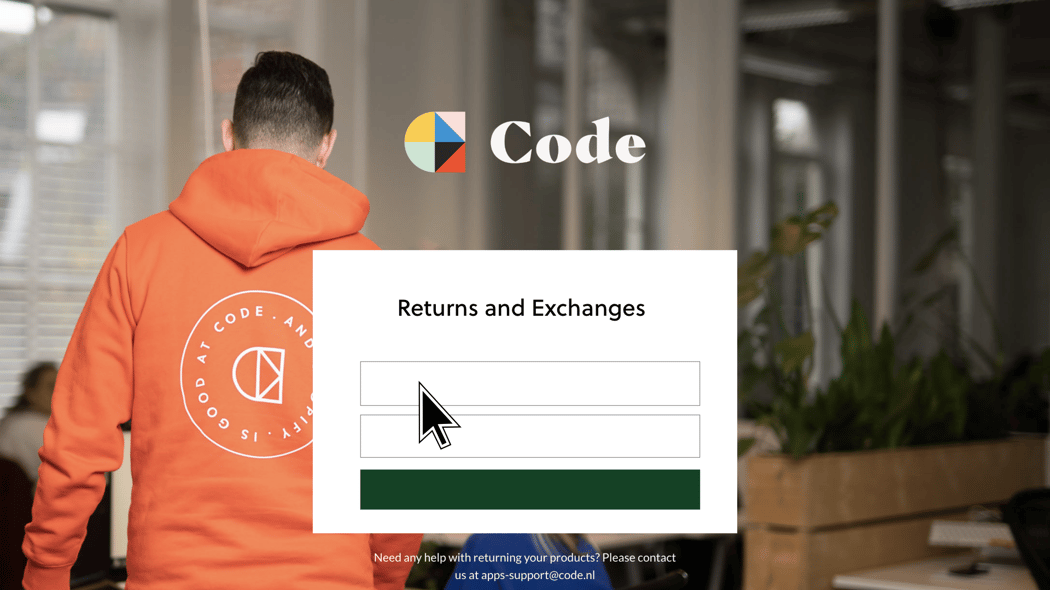
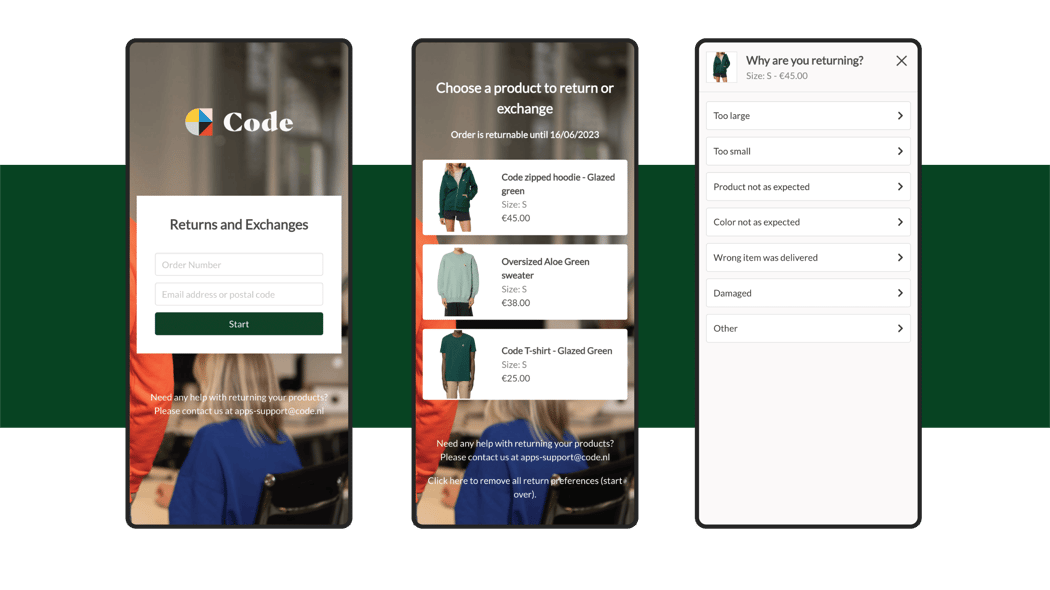
3. Setting up procedures
To make sure your returns and exchanges portal is tailored to your preferences and processes, you will now need to configure your interface from the admin panel. To make it swift and easy to set up procedures, we've put together extensive documentation that will take you by the hand. First, you set up your return reasons, exchange options and return timeframe. Then you configure your email templates so your customers receive clear and concise communication. After that, your customer portal is ready to go!
4. Integrating Returner
Next up, it’s time to integrate Returner with the system that processes your returns, such as a warehouse or ERP system. Then we need to retrieve a return label. You can do this through our integration partners like Sendcloud or a chosen custom method.
Ensure that the return process is accounted for in your financial records so you are ready to handle returns and exchanges. This involves setting up processes for processing refunds and exchanges, and registering exchange orders.
5. Set up return tracking and start testing
Set up return tracking to provide your customers with real-time updates on their returns using tools like Aftership. You can also choose to send transactional emails via Klaviyo. Once you are all set up, make sure you do a lot of testing! It’s important to thoroughly test to ensure a smooth integration.
6. Adjusting the Return flow
When you launch Returner, adjust your return flow to guide customers to the Returner portal. This includes updating the return instructions on your website. Note that the shipping label is now provided in the Returner portal and not in the packaging of the products. Here too, we advise a lot of testing to ensure that the system works correctly.
7. Processing Returns / Receiving returns
Once Returner is set up, you'll begin receiving returns and exchanges. When you receive a return notification from your logistics partner, our app will automatically process the return. You can choose to manage returns manually, in bulk, or automatically.
Simon Bertschinger - Head of E-commerce at namuk: "With Returner we save at least 15 to 20 man hours per month that now go to processing returns."
8. Grip and Insights
After handling your returns & exchanges through Returner for a while, you'll gain valuable insights on returns and exchanges. You can utilize these insights by improving product descriptions or set up size finder tools. This will decrease your return rate and increase customer satisfaction.
If you are interested and ready to integrate Returner to streamline the returns process for both online retailers and customers, get in touch with us!
Partnerships and Existing Customers
Returner has direct integrations with partners like SendCloud and Budbee who provide customers with shipping labels and for third-party logistics we have integrations with Monta, Active Ants, and Promese. The app can also be integrated with Klaviyo, among other platforms, if required.
Returner is already trusted by brands like Labfresh, Olaf Hussein, Trimtex, WAHTS, Hang Eleven, Josephine & Co and MR Marvis.
And that's it!
With these 8 steps, you are ready to integrate Returner into your e-commerce business and streamline your returns and exchanges process. So what are you waiting for?